Before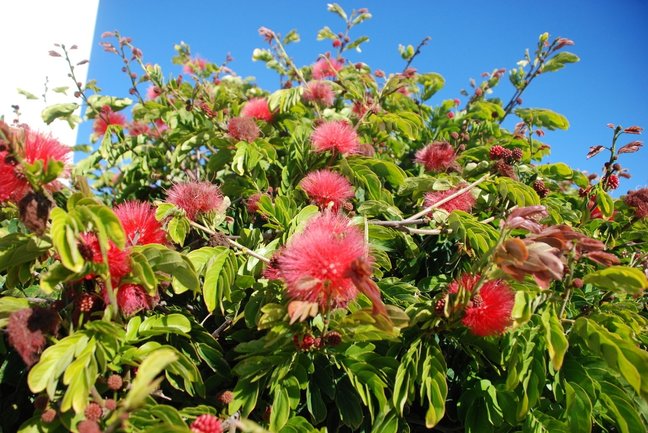 After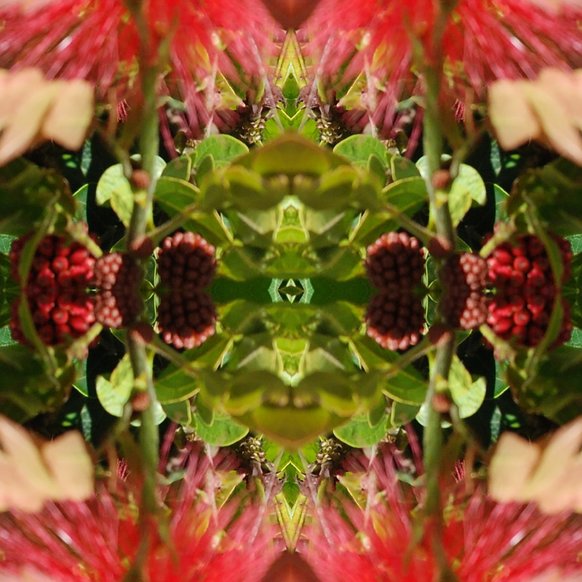 1.A tessellation is a picture edited through photo shop that makes different geometric shapes, and doesn't have white lines going through it. 2.To create a tessellation you begin by making a grid/layout. Next you open your photo and crop it to a specific section of the photo you want to use. Then you resize the photo and put it in the first box of your grid. After that you duplicate the photo and move it into the next box and rotate it horizontal or vertical depending on where you place the photo. After that once you've finished filling all the boxes, you merge all the layers and edit your photo to your liking. Then save your photo and your done. 3.I really like the cool designs that you can make by doing this. The first one is my favorite, it just came out really good. 4.I struggled on this when I was trying to make the design really unique. 5.Try different angles to make even better designs when I edit. Before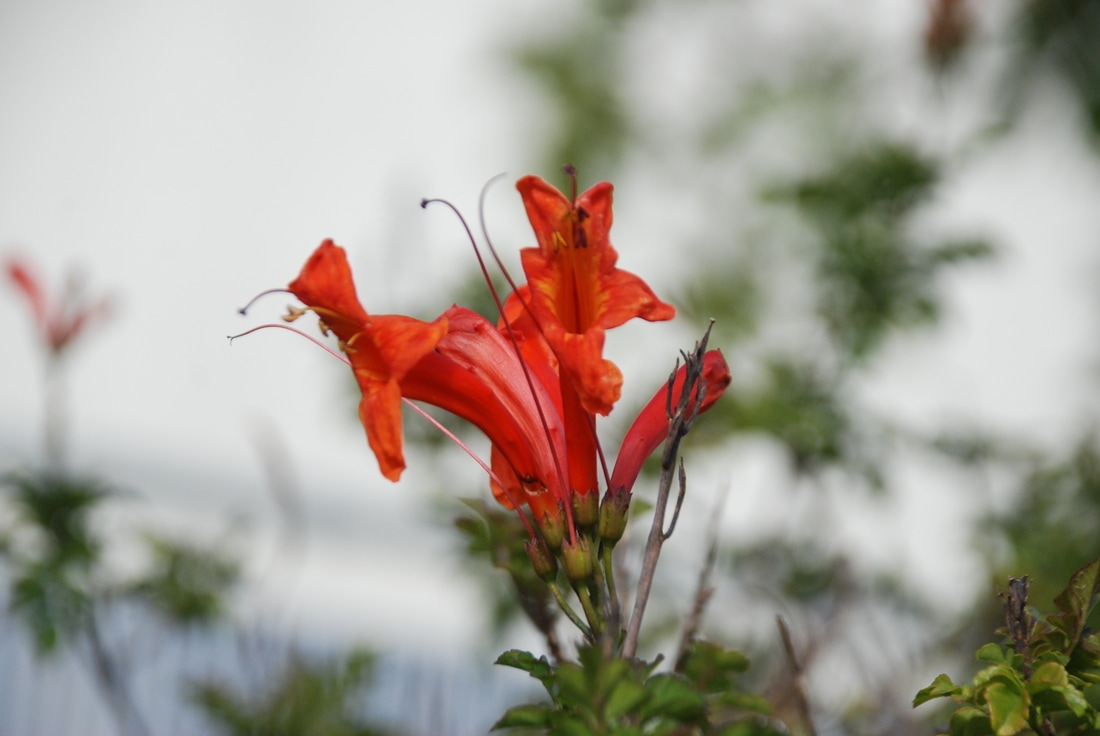 After 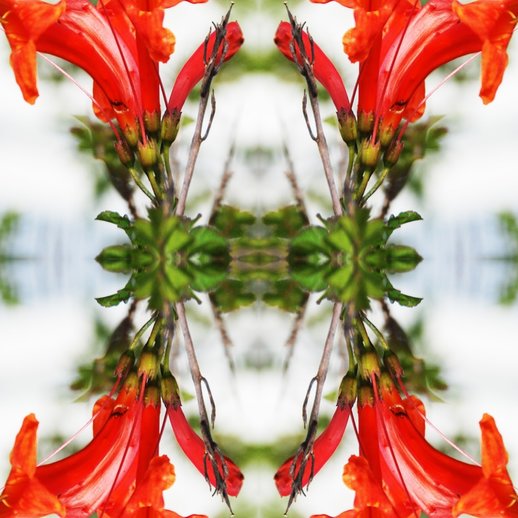 Before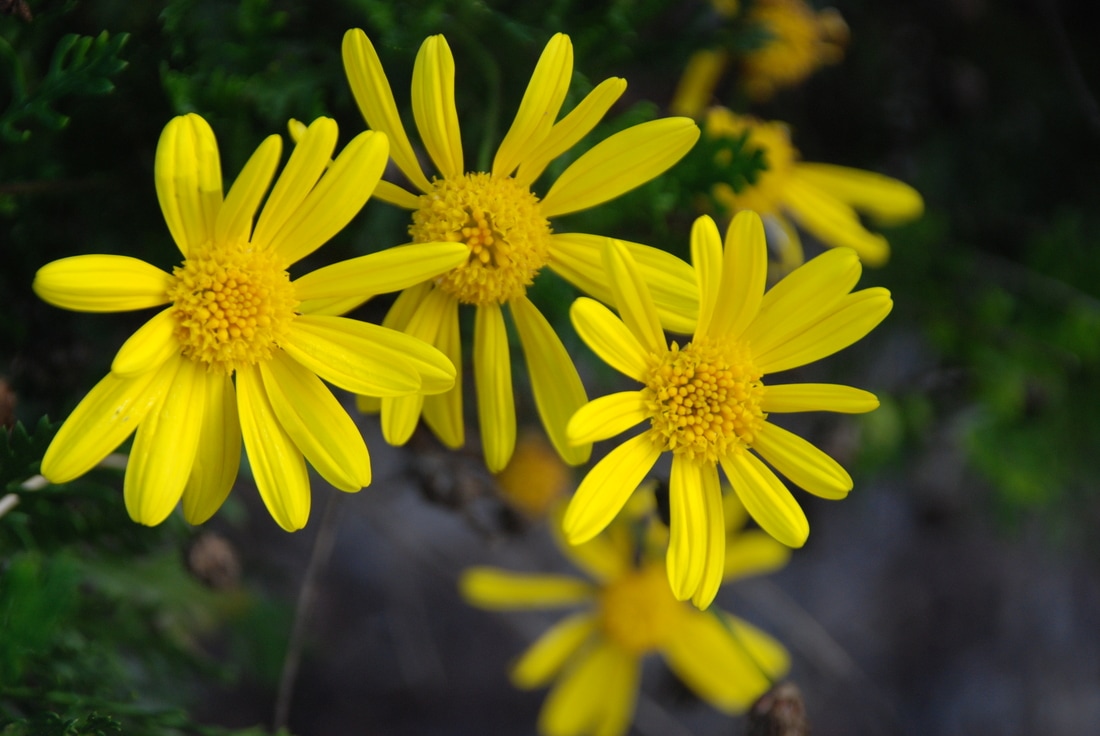 After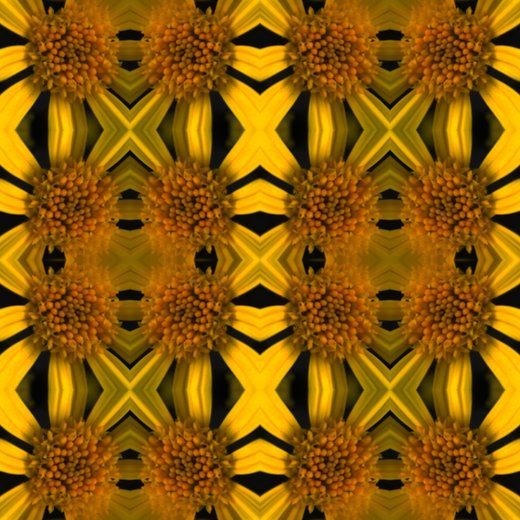 Before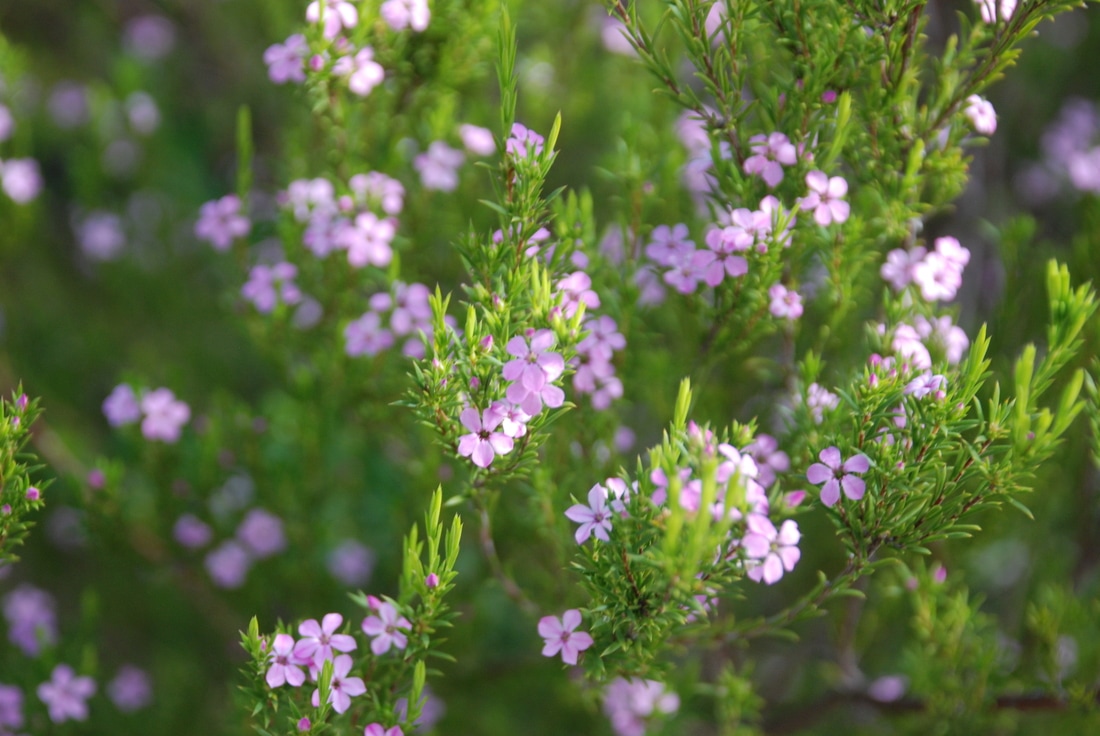 After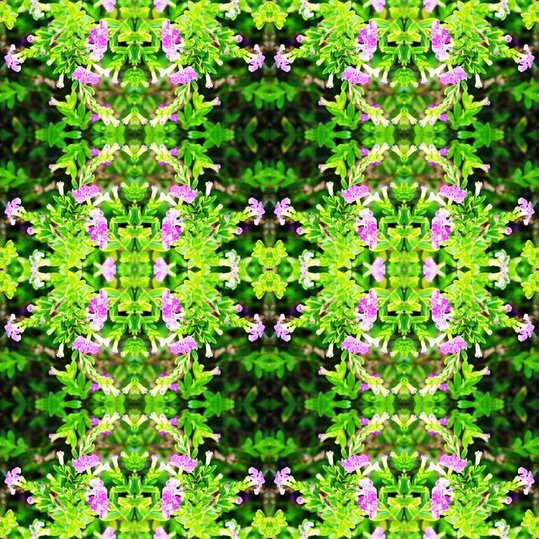 Before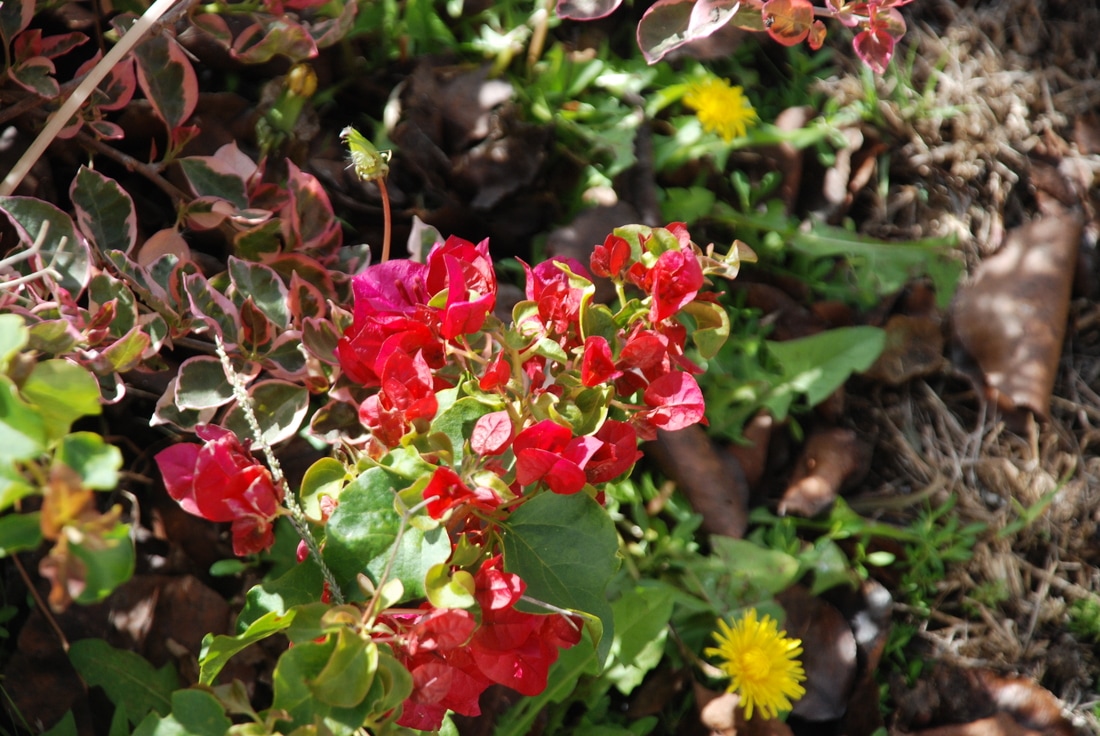 After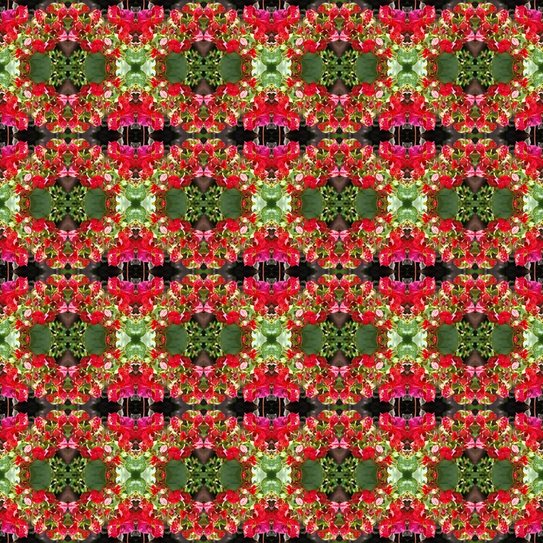 Before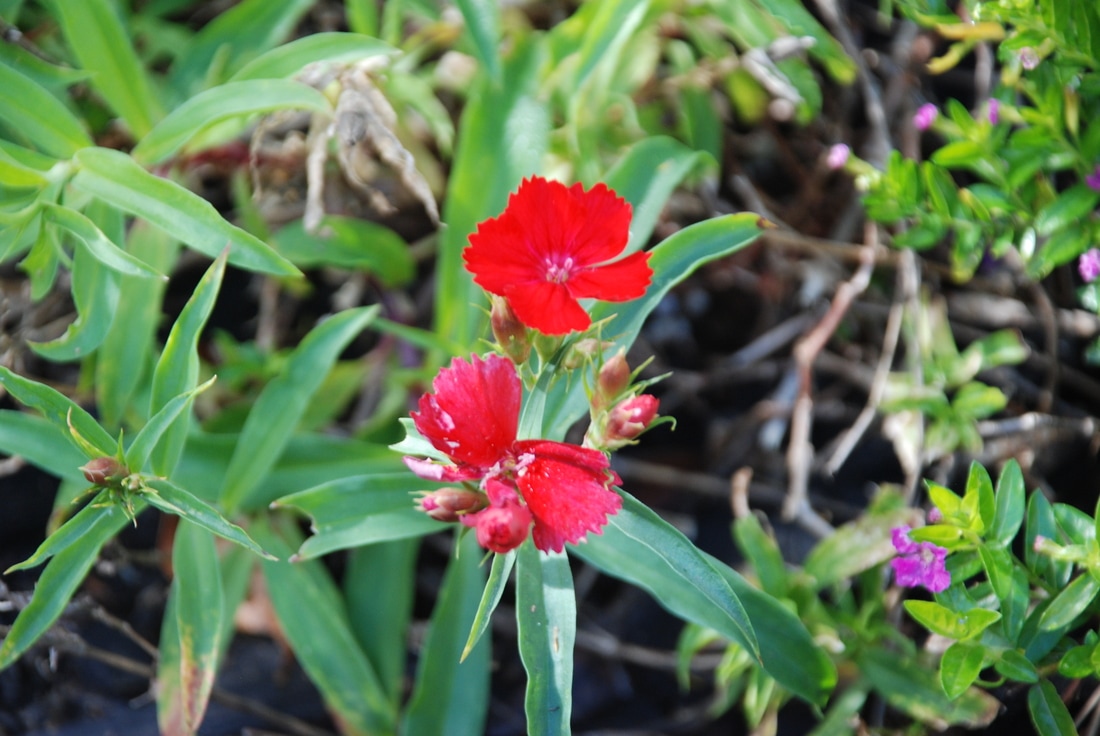 After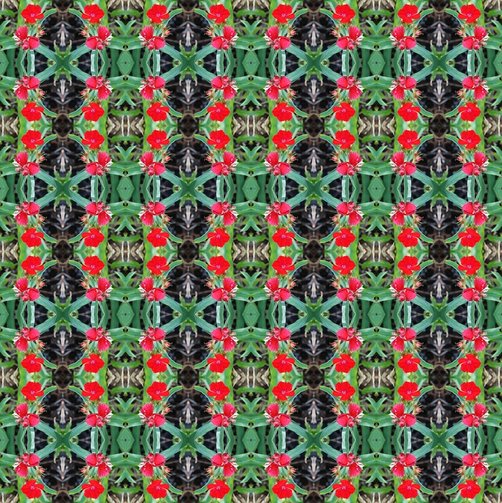
0 Comments
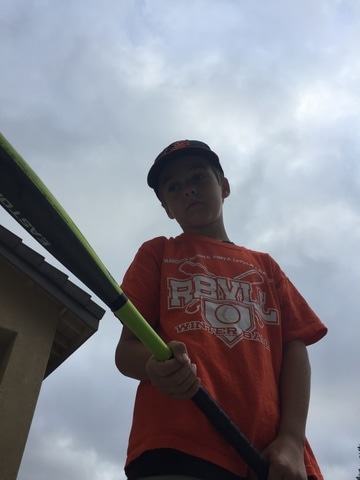
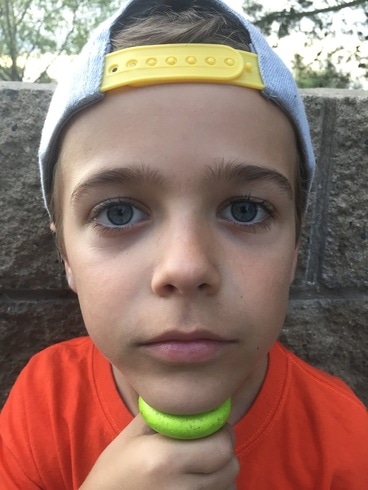
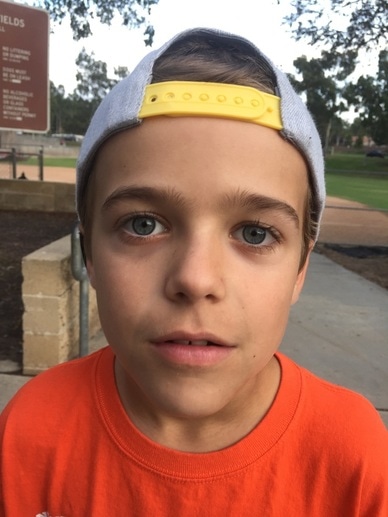
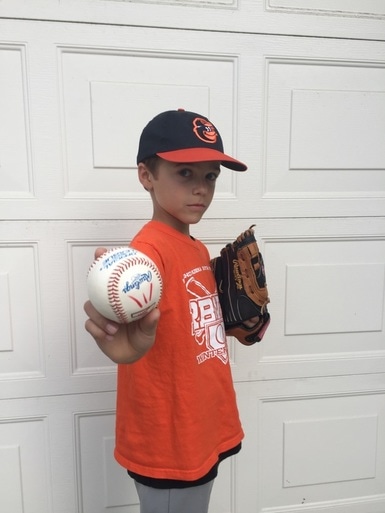
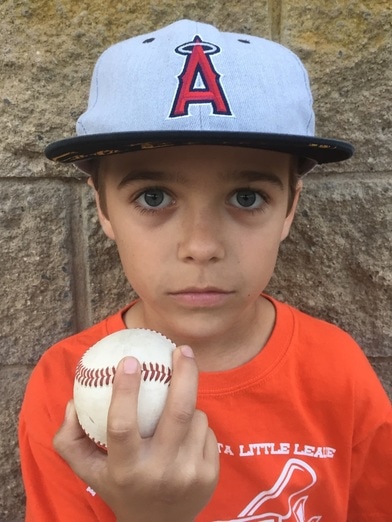
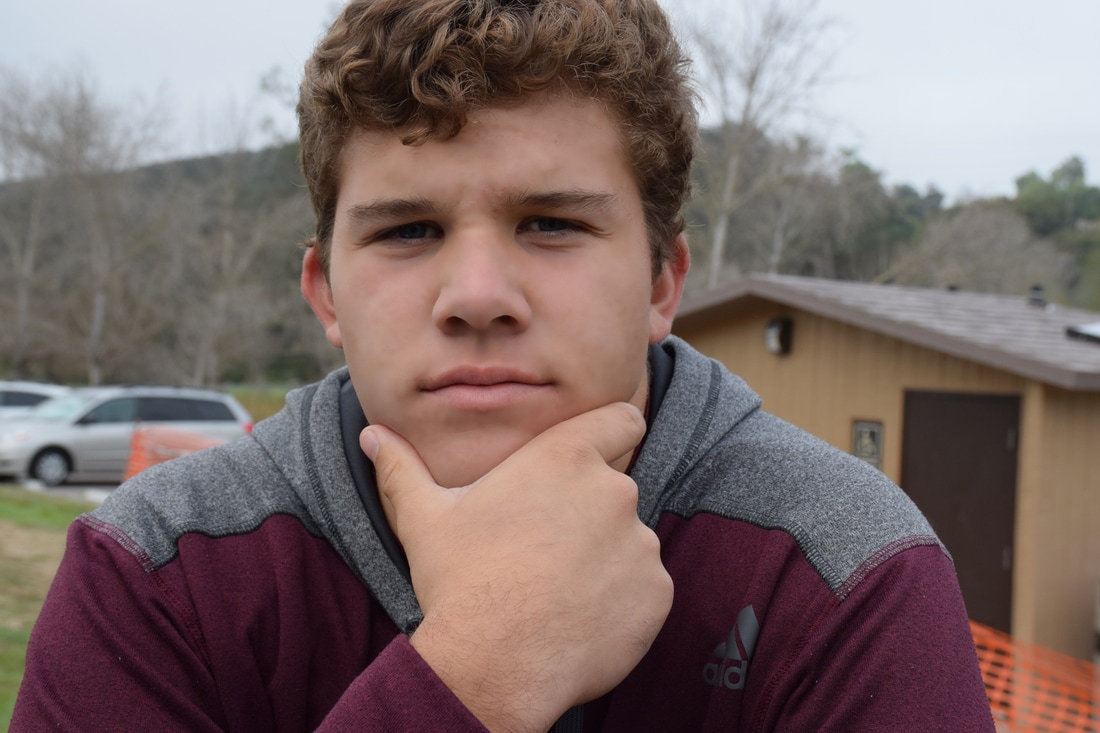 ISO 400, aperture f/8, shutter speed 1/250 1. That there are some really good places to take your portrait photo. 2.It was a paper with a bunch of different poses and it was helpful to use since we dint't know what to do and there wear bunch of different poses to try. 3.We reaaly didn't use the reflector since it was pretty cloudy, it wasn't really helpful, if we did use it, it would have probably made the model more bright. 4.I blurred out dots and other marks on his face to retouch the photo. 5.Comercial photography, JC Penny Portrait Studies, Picture People, or SharpShooting Imagery, those companies hire portrait photographers. $8 to $10 per hour, Skilled photographers charge thousands to shoot a wedding or other big event. 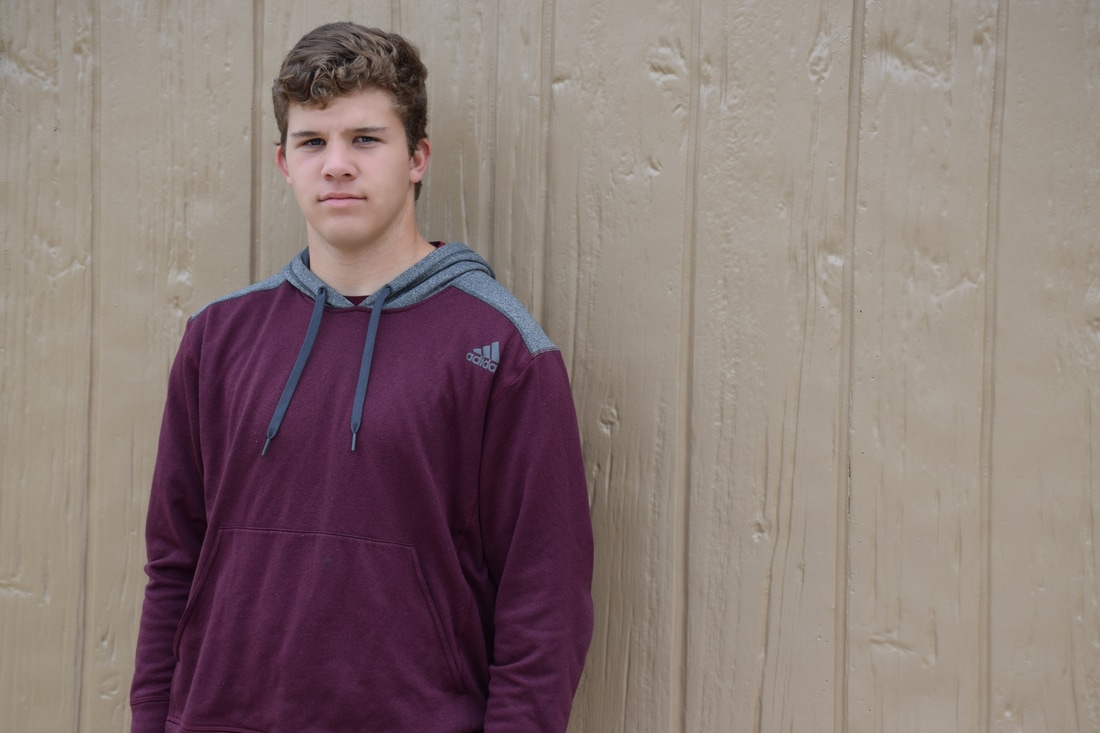 ISO 400, aperture f/8, shutter speed 1/180 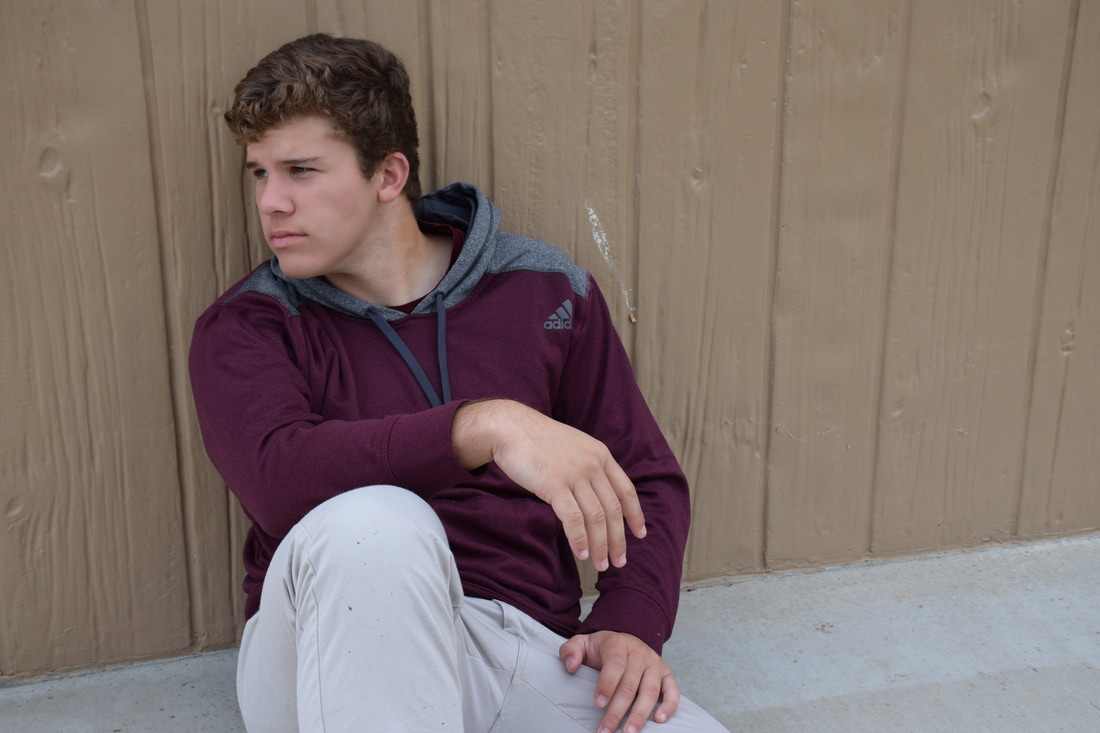 ISO 400, aperture f/8, shutter speed 1/250 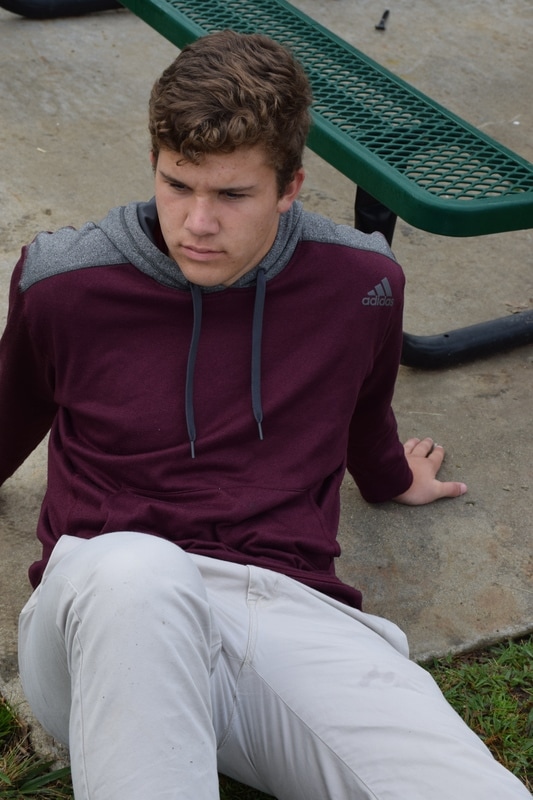 ISO 400, aperture f/8, shutter speed 1/180 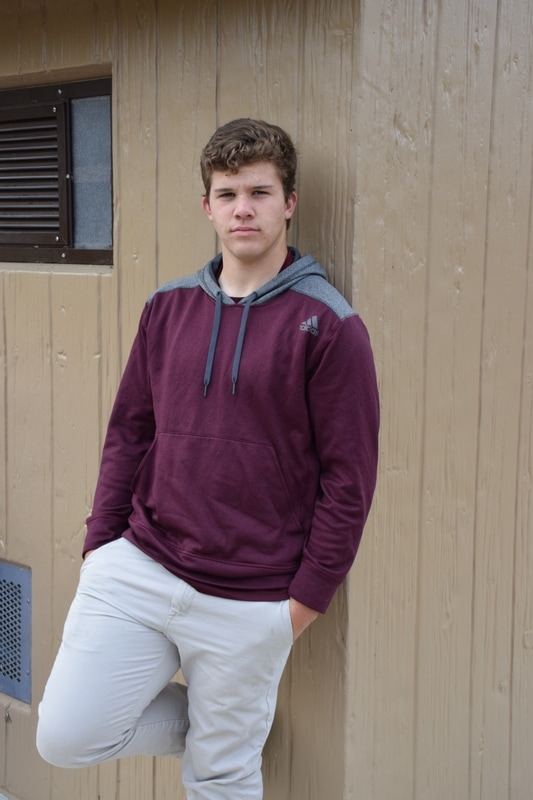 ISO 400, aperture f/8, shutter speed 1/180 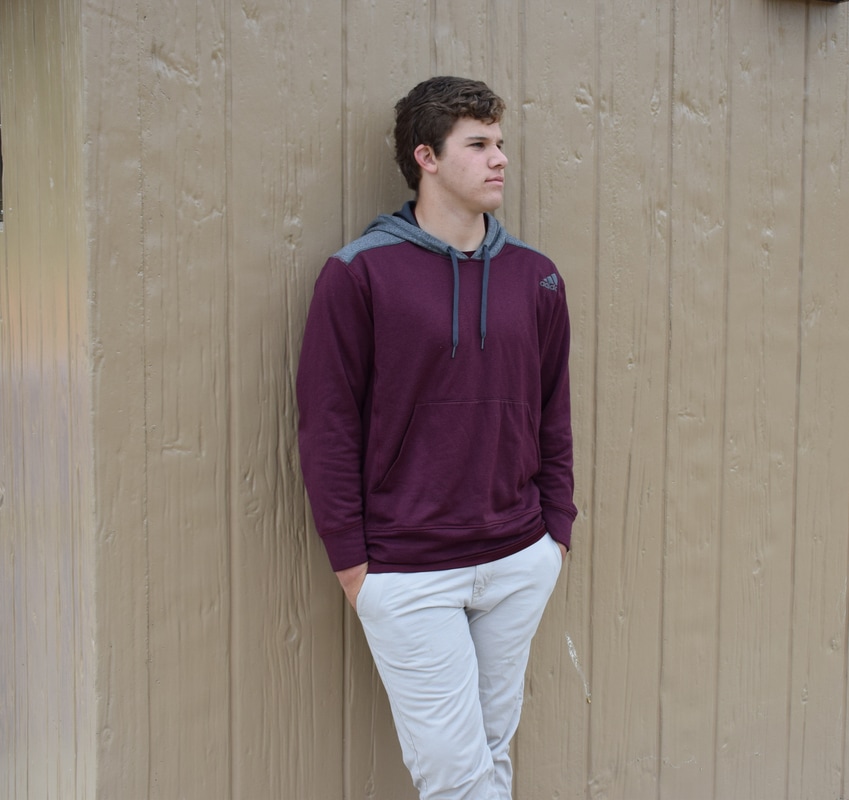 ISO 400, aperture f/8, shutter speed 1/180 Donuts make me go nuts! 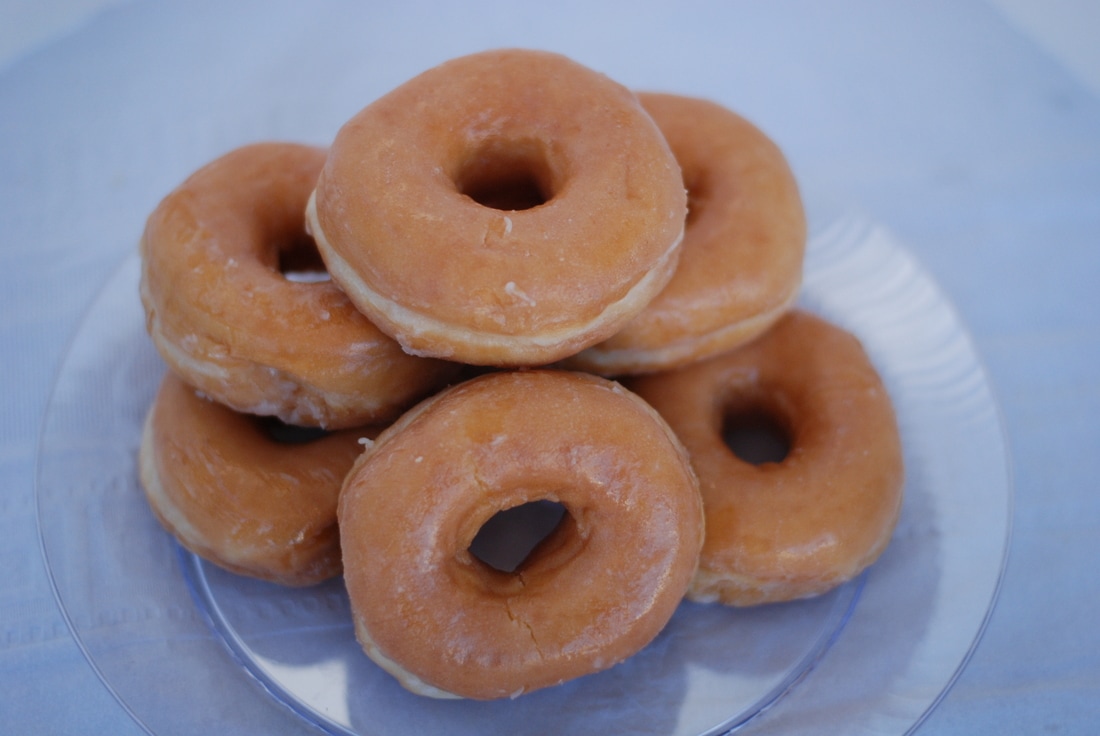 ISO 400, aperture f/1.8, shutter speed 1/1,500 I brought donuts and vanilla extract. I used a plastic pate and a white table cloth. 1.A still life is a work of art depicting mostly inanimate subject matter. 2.It needs to add interest but the focal point=background. 3.White is fresher tends to be a commercial=background. 4.Food photography is one of the fastest growing areas in focus in today’s photography. 5.Be quick to take pictures on foods that melt or change colors. I used a white table cloth to make the food look professionally since i saw some videos with it. The there things I learned were that props matter, lighting is extremely important, ant that time is a important factor since your food could melt or change colors. Lots of fast food places use food photographers to make there food more appeasing. McDonalds does this. Food stylists use food photography since they are the ones that style the food to make it look better.That I made my food look more appeasing and mouth watery. Maybe take some pictures in different angles or have the vanilla extract pour onto it. I would like to do this project again it was fun. Bon appétit! 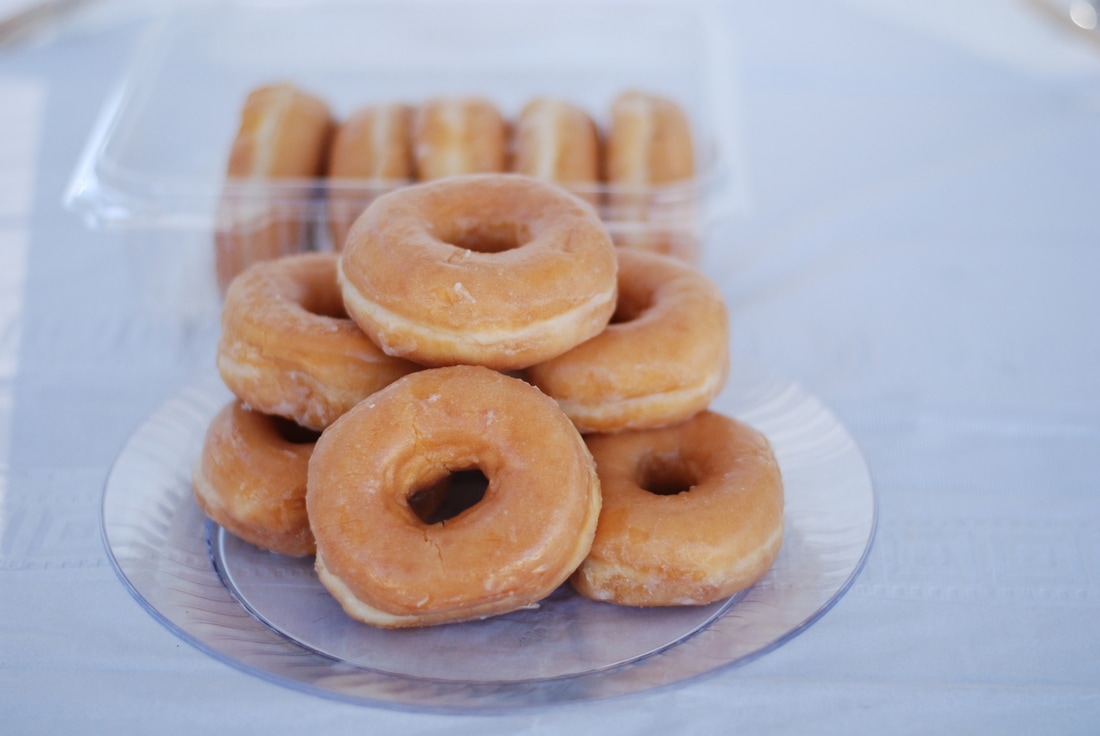 ISO 400, aperture f/1.8, shutter speed 1/2,000 Here comes the sun! 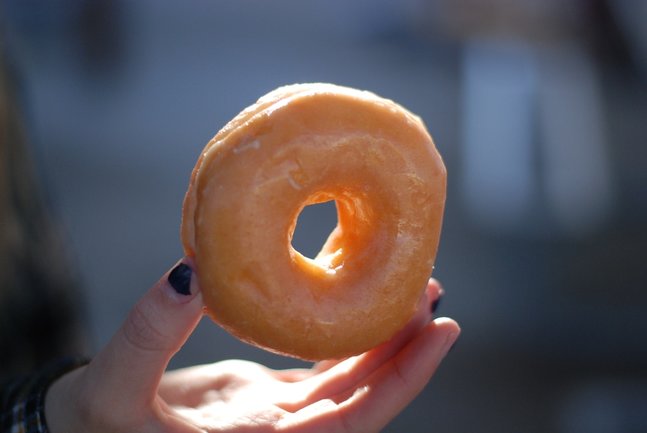 ISO 400, aperture f/1.8, shutter speed 1/4,000 ISO 400, aperture f/1.8, shutter speed 1/4,000 Donut Delight 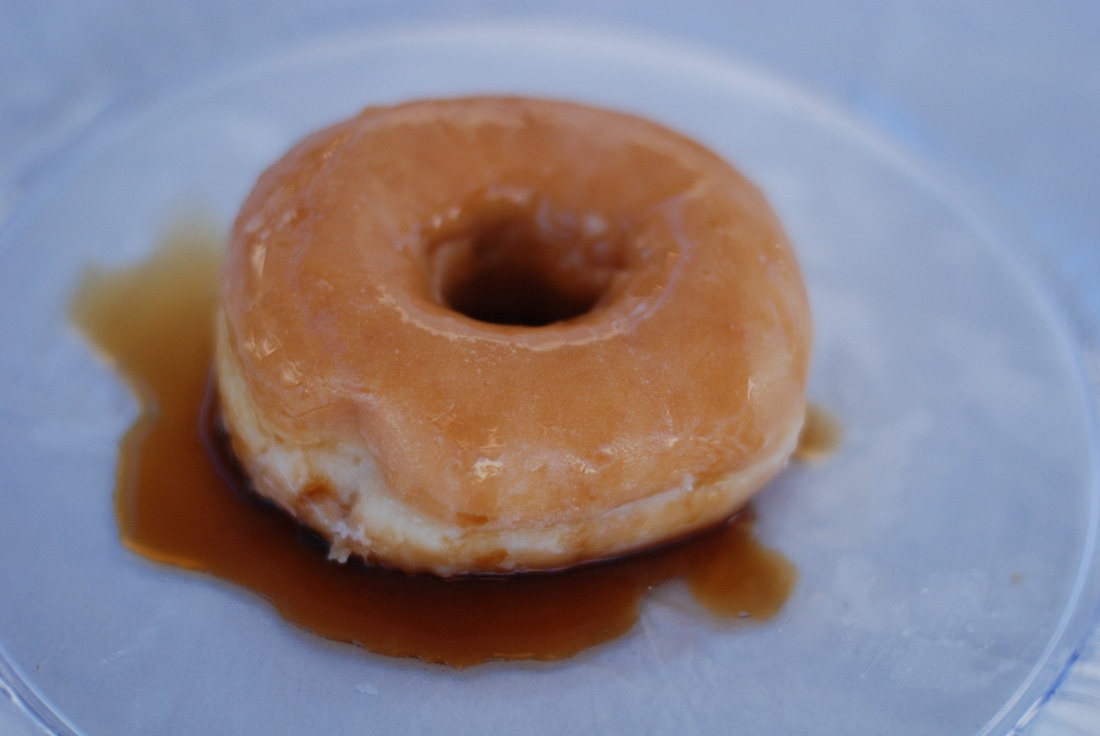 ISO 400, aperture f/1.8, shutter speed 1/3,000 Break my heart... 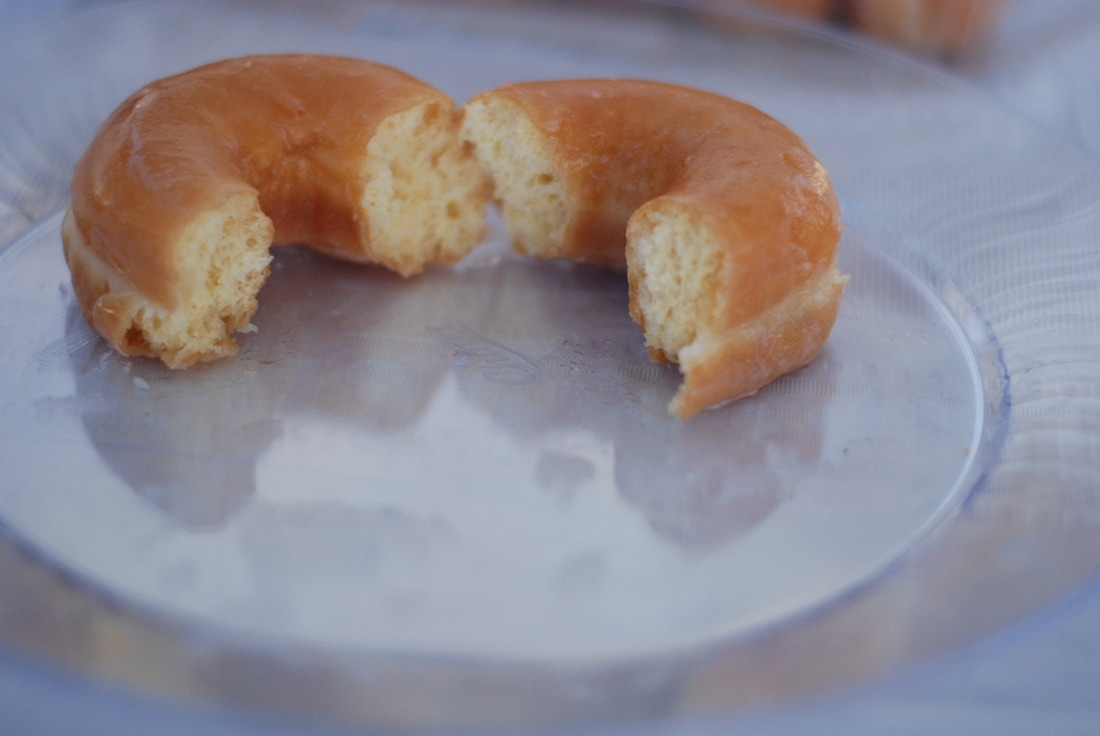 ISO 400, aperture f/1.8, shutter speed 1/3,000 Lets feast!!!!! 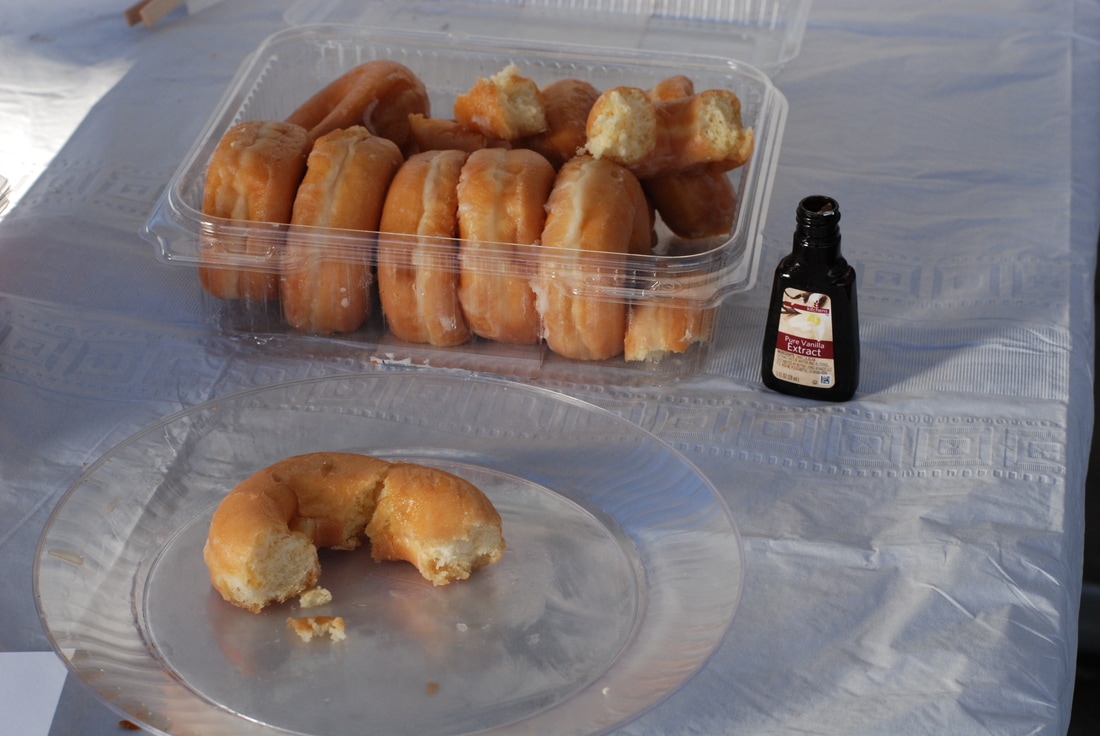 ISO 400, aperture f/8, shutter speed 1/350 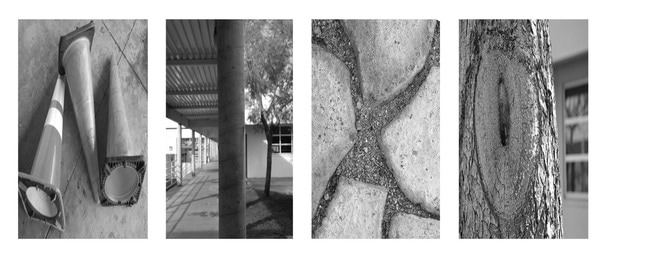 So I uploaded the photos to photoshop and I cropped out anything that wasn't needed in the photo.Then I went to Image, then adjustment and changed the picture from color to black and white. After that I went to our common drive and uploaded the 4 letter name templet and put the letter in order and made then smaller so that they will fit and then I saved it as last name-firstname-nameproject and that's it. Probably the step that I was unclear with was cropping it but I figured it out pretty fast. I was proud of making it black and white. I really like how you can tell what each letter is. I maybe could have found a better N but it was really hard looking for one.
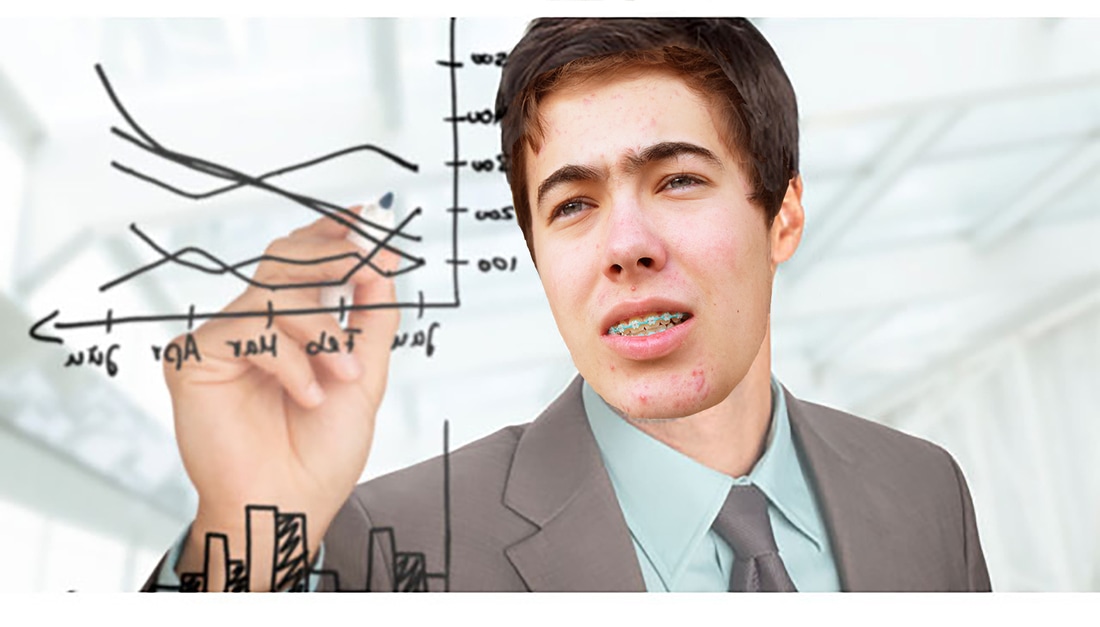 I will be a market research analyst in 10 years. I will be a market research analyst for Yogis Pizza and Brew since it is a family business and I want to peruse it. I'm hoping I will be living in San Diego in a house or a apartment. I'm still trying to decide if I want to peruse this career but so far I want to. I'm just hoping that I'm able to wake up in the morning and actually enjoy it before going to work, weather that's making breakfast or going to a restaurant and having a amazing breakfast. After that I will go to work at our headquarters in San Clementi and hopefully make a great difference in Oggis. I'm just want to make our business even bigger and to make more money for the company in the future. Maybe I will have a family then or at least a wife. 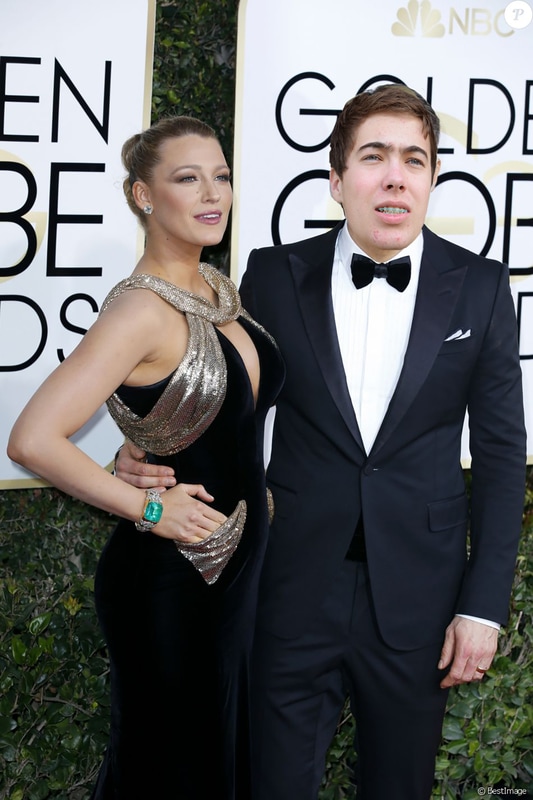 It's me as Ryan Reynolds and I'm with his wife Blake Lively at the Golden Globes. I've always been a fan of Ryan Reynolds and I think every role he plays in movies is always amazing and funny. He's pretty much my favorite actor, I mean who doesn't like Ryan Reynolds. So I got these photos off the internet and hey had to be large images so that they would come out good and I also need a picture of myself. Once I had both my photos in Photoshop, I dragged the headshot away and used the lasso tool to cut my head and then used the move tool to move it to the other photo.
Next I changed the opacity to 60%, used scale and rotate to put my face over the other perfectly, then changed the opacity back to 100%. When that was done, I used the paint brush tool to erase unnecessary background, then changed the skin tone using brightness and color contrast to match it as well as I could. Once all those steps were complete I then clicked merge layer to finish. My career photo came out really good but my celebrity one came out kind of bad but I tried my hardest, I was able to match the skin tone but my head came out really big. Before Rule of thirds, aperture:f/16, ISO 200, Shutter Speed:1/6 After Before Leading line aperture:f/16, ISO 200, shutter speed:1/20 After Before Symmetry Aperture:f/16, shutter speed: 1/3, ISO 200 After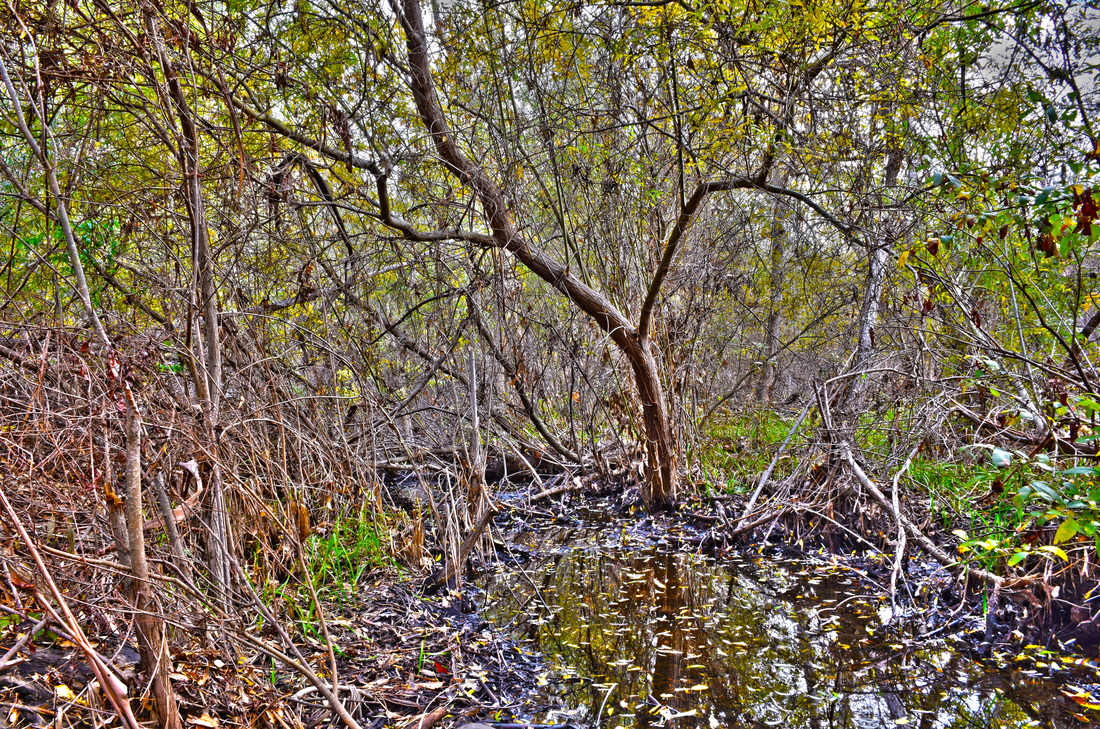 Before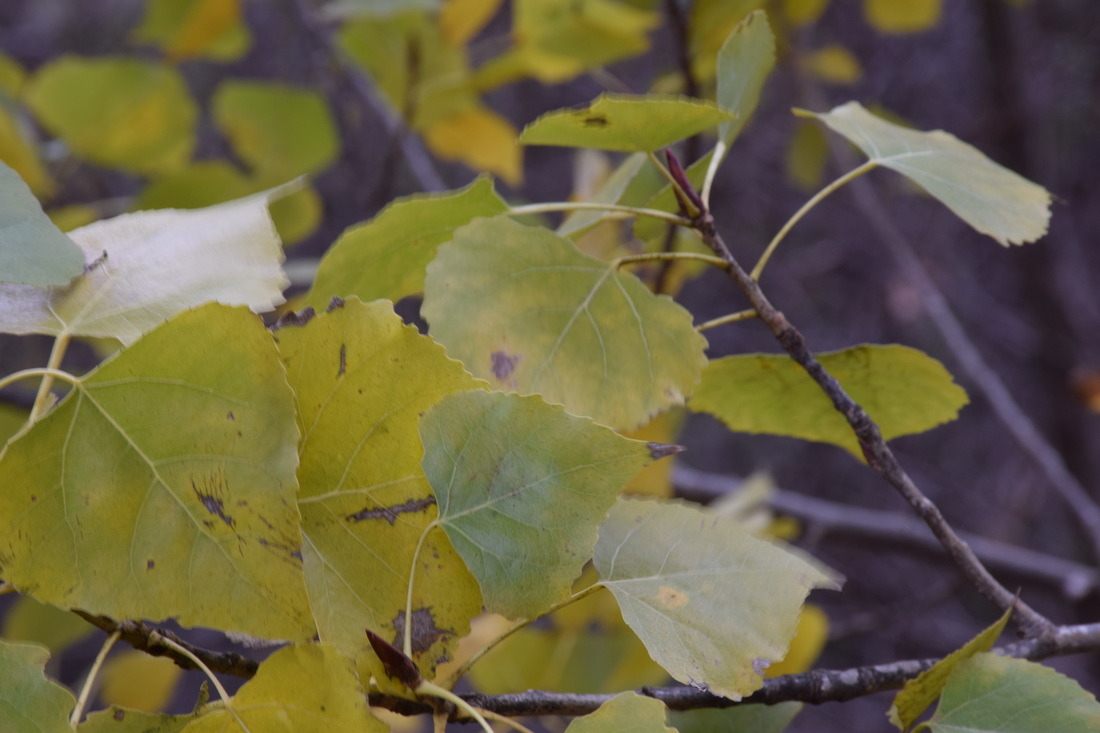 Crop, Aperture:f/16, shutter speed:1/10, ISO 200 After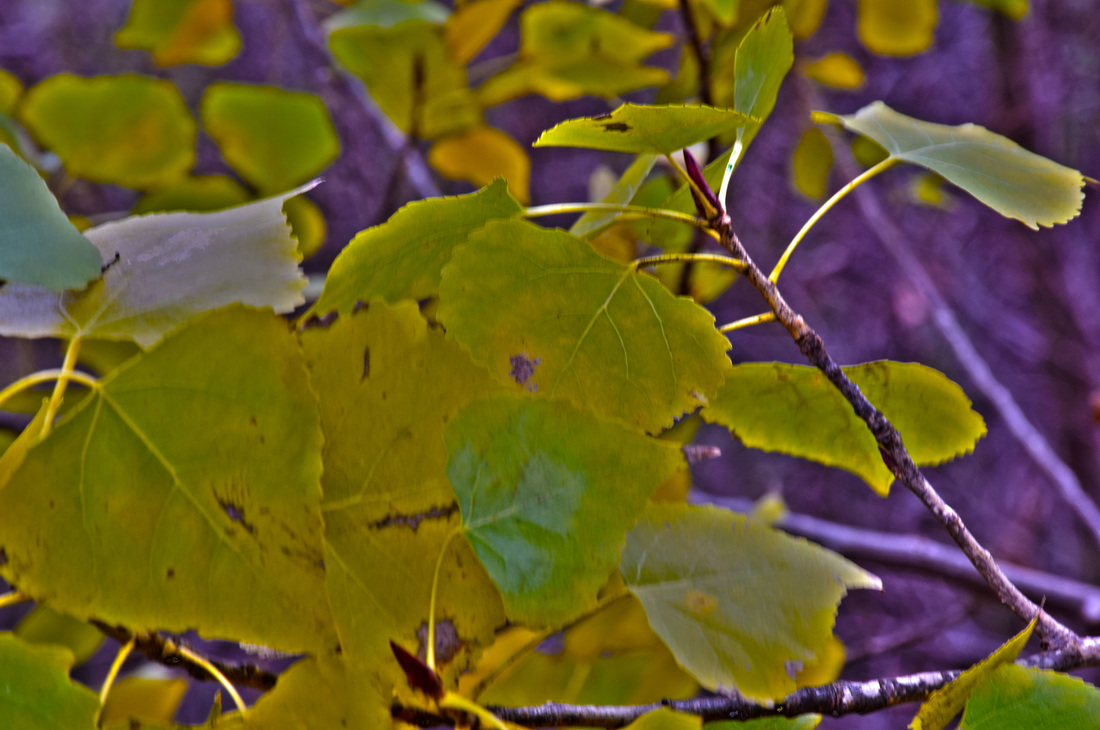 Before Framing, Aperture:f/16, shutter speed:1/8, ISO 200 After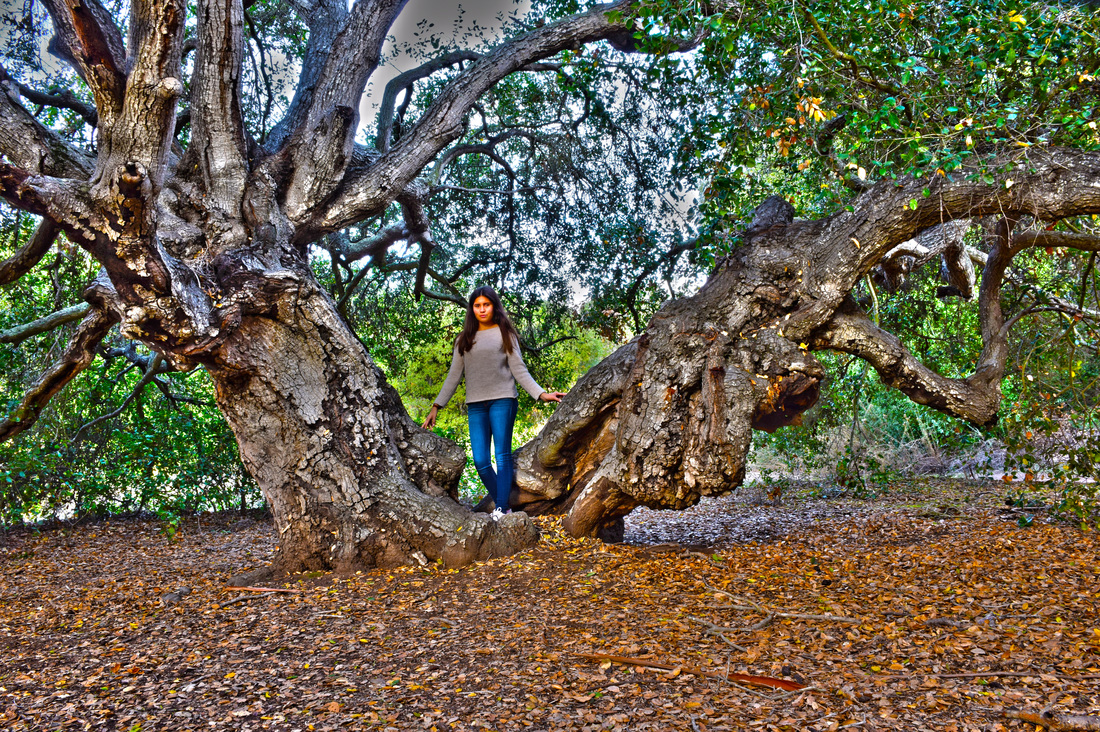 To make an HDR take 5 photos each at different exposures some lighter and some darker. For example here my exposures were -1, -.5, 0.0, .5 and 1, It was over and under exposed. In photoshop you go to file, automate merge to HDR process, click brows and then your 5 photos. After a screen with all 5 photos merged into 1 will appear. Go to presets and click more saturated, then click remove ghotsts. ( Revoves things that were moving in one of your photos.) Then go file, save as last name-first name- What the compsition rule is. Save as a photoshop file and a JPEG. To make photo smaller to fit into weebly Reopen photo in photoshop and go to image, image size, then change the with to 8. Then File, save as lastname- first name- compsition rule- exapmple: Only save as a JPEG this time. We saved the photos on our desktop and in our common drive. HDR means is a technique used in imaging and photography to reproduce a greater dynamic range of luminosity than is possible with standard digital imaging or photographic techniques. You have to take theese pictures in the same exact area, DO NOT MOVE!!!! or else it wont work for photosphop.
Blood Moon Lunar Eclipse, September 27, 2015. Left image: 70-300mm lens @ 270mm, ISO 1000, aperture f/5.3, shutter speed 1.3 secs. Right image: 70-300mm lens @ 300mm, ISO 800, aperture f/13, shutter speed 1/1250 sec.
To photograph the moon: 1. Use a tripod! A flat surface will only allow you to shoot straight, and shooting the moon means that you'll be shooting up and constantly re-adjusting the tripod as the moon moves throughout the night. 2. Use a shutter release cord, remote or the camera's self timer if you don't have one, so that you don't move the camera when pressing the shutter release during a long exposure. 3. Use a zoom lens and zoom in as much as you can to the moon. It's okay if it's not a super fancy lens, this was shot using a 15 year old $100 lens. Focus in on the craters and details on the moon. 4. ISO 1250- 1600, so that you can use as fast a shutter speed as you can without losing detail-the longer the shutter speed, the more chances you have the camera will shake even slightly in the wind, resulting in an out of focus photograph. 5. Aperture priority of f/5.6 since you are not worried about capturing any details other then the moon. 6. Bracket your exposure, meaning over expose and underexpose the photograph from what the camera is telling you. Generally the camera will overexpose the moon, so you'll get nothing but a white blob in the sky. Use the exposure compensation button (the +/- button below the shutter release) and change the exposure to -0.5, then -1.0, then -1.5 and so on, until you start seeing detail in the moon. You may go as far as -5.0 exposure compensation to get what you need. 7. Take a fair amount of photos and keep refocusing as the night progresses. The photographs may look focused on the camera's display, but you won't really see if they're completely in focus until you upload them onto your computer screen. |
AuthorI am a Junior at RBVHS Archives
May 2017
Categories |
 RSS Feed
